Table of contents目次
- Development environment 開発環境
- OpenJDK
- On Windows Windowsの場合
- On WSL WSLの場合
- On macOS macOSの場合
- On Linux Linuxの場合
- Terminal ターミナル
- How to check version number of installed Java インストールされているJavaのバージョンの確認方法
- Start 起動する
- Specify CGROM.DAT CGROM.DATを指定する
- Start from a disk image file ディスクイメージファイルから起動する
- Start from a directory ディレクトリから起動する
- Quit 終了する
1. Development environment 開発環境
XEiJ development environment is a desktop PC that consists of an AMD Ryzen 9 3900X 12-Core Processor 3.79 GHz, AMD Radeon VII, RAM 32.0 GB and Windows 11 Pro. XEiJ の開発環境は、AMD Ryzen 9 3900X 12-Core Processor 3.79 GHz、AMD Radeon VII、RAM 32.0 GB、Windows 11 Pro で構成されるデスクトップ PC です。
2. OpenJDK
XEiJ runs under OpenJDK and uses Swing as its GUI. At the time of writing, the latest OpenJDK is 26.0.1, but please use the most recent OpenJDK possible. XEiJ は OpenJDK で動作します。GUI は Swing を使用します。 これを書いている時点で最新の OpenJDK は 26.0.1 ですが、可能な限り最新の OpenJDK を使用してください。
3. On Windows Windows の場合
- Open OpenJDK JDK 26.0.1 GA Release. OpenJDK JDK 26.0.1 GA Releaseを開きます。
- Download openjdk-26.0.1_windows-x64_bin.zip . openjdk-26.0.1_windows-x64_bin.zip をダウンロードします。
- Right click the icon of openjdk-26.0.1_windows-x64_bin.zip and select "Extract All...". A dialog, Extract Compressed (Zipped) Folders, appears. openjdk-26.0.1_windows-x64_bin.zip のアイコンを右クリックして「すべて展開 ...」を選択します。 「圧縮 (ZIP 形式) フォルダーの展開」というダイアログが表示されます。
- Input C:\ into the field, Files will be extracted to this folder. 枠「ファイルを下のフォルダーに展開する」に C:\ を入力します。
- Click the Extract button. OpenJDK is extracted in C:\jdk-26.0.1. If 7-Zip is installed, select 7-Zip -> Extract files... and enter C:\ in Destination folder. 「展開」ボタンをクリックします。OpenJDK が C:\jdk-26.0.1 に展開されます。7-Zip がインストールされている場合は「7-Zip」→「展開 ...」を選択して「展開先」に C:\ を入力します。
- Press Windows+Pause to open "System info". Windows+Pause を押して「システム情報」を開きます。
- Click "Advanced system settings". 「システムの詳細設定」をクリックします。
- Click "Environment Variables". 「環境変数」をクリックします。
- Select Path in "System variables" and click "Edit". 「システム環境変数」の Path を選択して「編集 ...」をクリックします。
- Click "New" and input
C:\jdk-26.0.1\bin. 「新規」をクリックしてC:\jdk-26.0.1\binを入力します。 - Click "OK". 「OK」をクリックします。
- Click "OK". 「OK」をクリックします。
- Close open windows. 開いているウインドウを閉じます。
If an environment variable is corrupted, it is not easy to recover. Please check carefully to make sure that you are not trying to write to an adjacent line by mistake. It is safer to make backups before starting work. 環境変数を破損すると復旧は容易ではありません。 間違って隣の行に書き込もうとしていないかなどよく確認しながら行ってください。 バックアップを取ってから作業を行うとより安全でしょう。
4. On WSL WSL の場合
The following is a simplified procedure for the author to test XEiJ in WSL. 作者が WSL で XEiJ を試すときの簡易的な手順は以下の通りです。
(1) Launch WSL in the Windows Terminal command prompt. (1) Windows のターミナルのコマンドプロンプトで WSL を起動します。
wsl
(2) Bring the OpenJDK for Linux downloaded on Windows into WSL and extract it. (2) Windows でダウンロードした Linux 用の OpenJDK を WSL に持ってきて展開します。
cd ~
mv /mnt/d/…/openjdk-26.0.1_linux-x64_bin.tar.gz .
tar zxf openjdk-26.0.1_linux-x64_bin.tar.gz
(3) Add Java to the PATH. (3) Java をパスに追加します。
vi .bashrc
Go
export JAVA_HOME=$HOME/jdk-26.0.1
export PATH=$JAVA_HOME/bin:$PATH
:wq
source .bashrc
(4) Navigate to the XEiJ directory on Windows and run it. (4) Windows の XEiJ のディレクトリに移動して実行します。
cd /mnt/d/…
make test BOOT=/mnt/d/…
5. On macOS macOS の場合
Users have kindly shared installation instructions for XEiJ on macOS. Thank you very much. ユーザーの方が macOS における XEiJ のインストール手順を公開してくださっています。 ありがとうございます。
- macOS で始める X68000 開発環境構築 #Mac - Qiita (2025-10-13) @yunkya2 さん
- macOS ユーザ向け X680x0 エミュレータ XEiJ 活用ガイド (導入編) (2023-01-06) @tantan さん
6. On Linux Linux の場合
Users have kindly shared installation instructions for XEiJ on Linux. Thank you very much. ユーザーの方が Linux における XEiJ のインストール手順を公開してくださっています。 ありがとうございます。
- [11/01 更新]【Ubuntu 24.04.3 LTS & Zorin OS 17.3 Core 対応】XEiJ インストールガイド (非公式) - ZUIKI コミュニティ (2025-11-01) SEN::DAC(@sen_dac)さん / X
See also using host file system on Linux. Linux でホストファイルシステムを使用するも参照してください。
7. Terminal ターミナル
The place where you type in commands by hand is often called a terminal. You can learn how to use them by searching for "Windows Terminal," "macOS Terminal," "Linux Terminal," etc. (Thanks DON) コマンドを手で打ち込む場所はターミナルと呼ばれることが多いようです。 「Windows ターミナル」「macOS ターミナル」「Linux ターミナル」などを検索するとそれらの使い方が分かります。(Thanks DON)
8. How to check version number of installed Java インストールされている Java のバージョンの確認方法
Enter the following command in the terminal. ターミナルで以下のコマンドを入力します。
>java -version
openjdk version "26.0.1" 2026-04-21
OpenJDK Runtime Environment (build 26.0.1+8-34)
OpenJDK 64-Bit Server VM (build 26.0.1+8-34, mixed mode, sharing)
When XEiJ is running, you can check the version of Java that is running in the Java runtime environment information in the Config menu. XEiJ が動作しているときは設定メニューのJava 実行環境の情報で実行中の Java のバージョンを確認できます。
9. Start 起動する
Move to the directory where XEiJ.jar is located in the terminal and run java -jar XEiJ.jar to start XEiJ. ターミナルで XEiJ.jar があるディレクトリに移動して java -jar XEiJ.jar を実行すると XEiJ が起動します。
>cd /(directory where XEiJ.jar is located)/
>java -jar XEiJ.jar
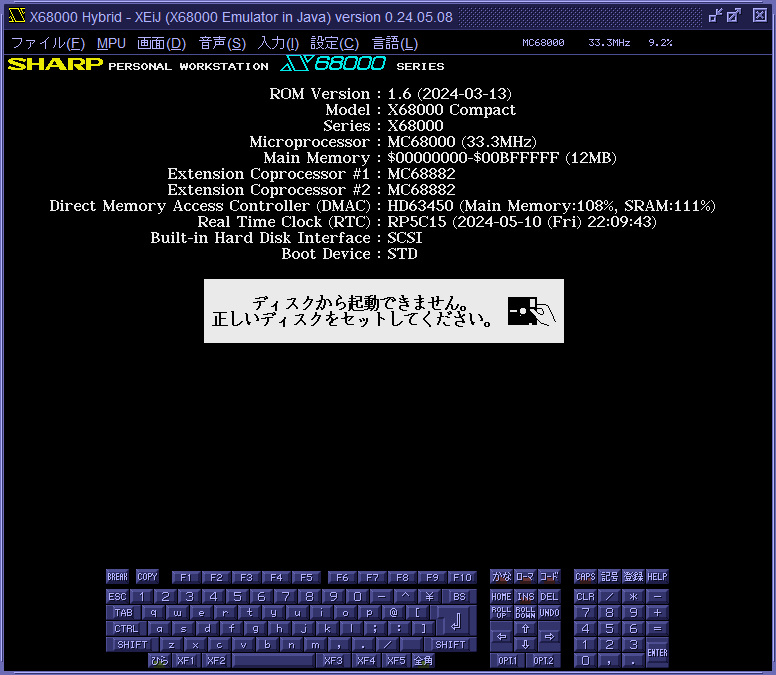
10. Specify CGROM.DAT CGROM.DAT を指定する
In the initial state, alternative CGROM data is used, and the font is different from that of the actual device. To use the same font as the actual device, take the CGROM data of the actual device as CGROM.DAT or CGROM30.DAT and specify it with the parameter cgrom. 初期状態では代替の CGROM データが使われており、実機とフォントが異なります。 実機と同じフォントにするには、実機の CGROM データを CGROM.DAT または CGROM30.DAT として取り出し、パラメータ cgromで指定します。
How to create CGROM30.DAT CGROM30.DAT の作り方
Once specified, the parameter is saved in the configuration file until it is overwritten or initialized. There is no need to specify the same parameter each time. 一度指定されたパラメータは上書きされるか初期化されるまで設定ファイルに保存されます。 同じパラメータを毎回指定する必要はありません。
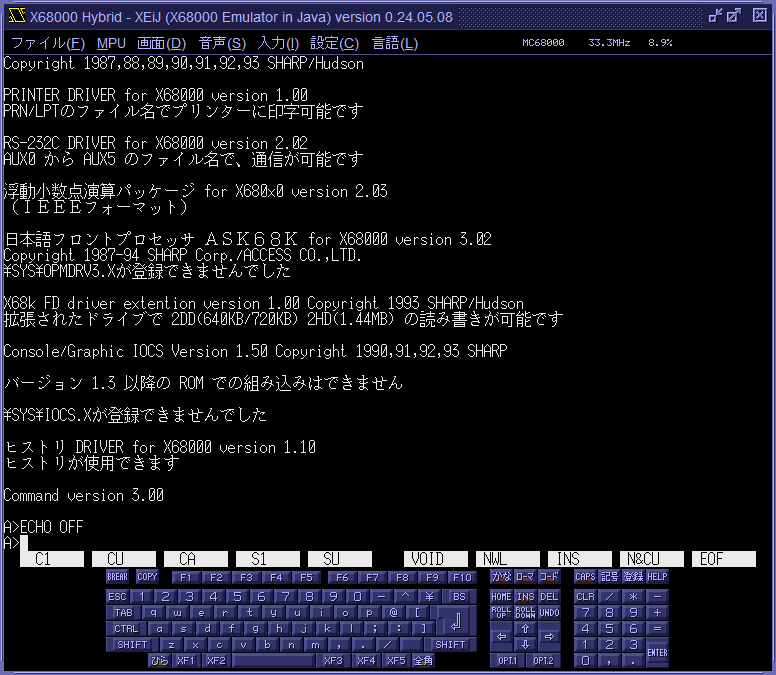
11. Start from a disk image file ディスクイメージファイルから起動する
The parameter boot can be used to specify the boot device. For example, writing -boot=HUMAN302.XDF will set the boot device to FD0 and boot with HUMAN302.XDF inserted in FD0. パラメータ bootで起動デバイスを指定できます。 例えば、-boot=HUMAN302.XDF と書くと起動デバイスが FD0 になり、HUMAN302.XDF が FD0 に挿入された状態で起動します。
>java -jar XEiJ.jar -cgrom=CGROM.DAT -boot=HUMAN302.XDF
SASI-HD and SCSI-HD image files can be booted using the same procedure. SASI-HD や SCSI-HD のイメージファイルも同じ手順で起動できます。
12. Start from a directory ディレクトリから起動する
XEiJ can make any directory on the host machine the boot drive of Human68k. For example, when the optical drive is E:, throw the CD-ROM version of Dennou Club into the optical drive and specify -boot=E: to boot Dennou Club. XEiJ はホストマシンの任意のディレクトリを Human68k の起動ドライブにすることができます。 例えば、光学ドライブが E: のとき、CD-ROM 版の電脳倶楽部を光学ドライブに放り込んで -boot=E: を指定すると電脳倶楽部が起動します。
>java -jar XEiJ.jar -boot=E:
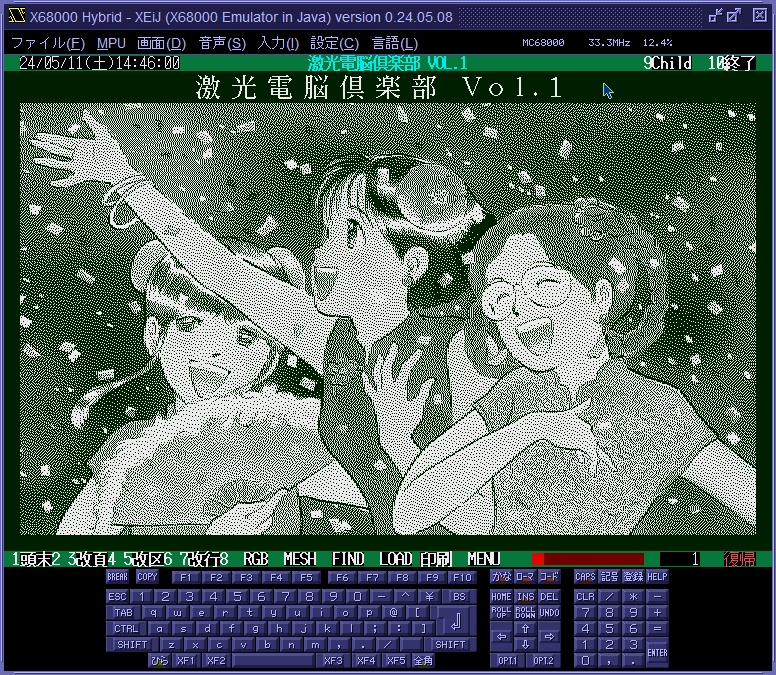
You can operate DSHELL in the seamless mouse mode. DSHELL はシームレスマウスモードで操作できます。
13. Quit 終了する
There are several ways to exit XEiJ. XEiJ を終了する方法は幾つかあります。
- Click the window close button. ウィンドウのクローズボタンをクリックする。
- Select Quit in the File menu. ファイルメニューて終了を選択する。
- Press Alt+Shift+Q. Alt+Shift+Q を押す。